⭐ Premium
Brevo is a dedicated email delivery service that Church Admin can use to send emails reliably — bypassing the sending limits and spam problems that come with sending through shared web hosting. The free plan includes 300 emails per day, which is enough for many smaller churches.
Pricing
Brevo’s free plan allows up to 300 emails per day with no monthly charge. Paid plans are available if you need higher daily volumes — see brevo.com/pricing for current rates. The free plan is sufficient for most small and medium-sized churches.
Allow 48 hours for DNS propagation
One step in the setup requires DNS records to be added to your domain. These can take up to 48 hours to propagate across the internet — don’t test sending to Gmail addresses until this is complete or your emails will be rejected. You can set everything else up in about 10 minutes and then simply wait.
Step 1 — Create a Brevo account
Go to www.brevo.com and click Start for free.

Enter your church email address and create a password.
Confirm your email address when the verification email arrives.
Step 2 — Select the free plan
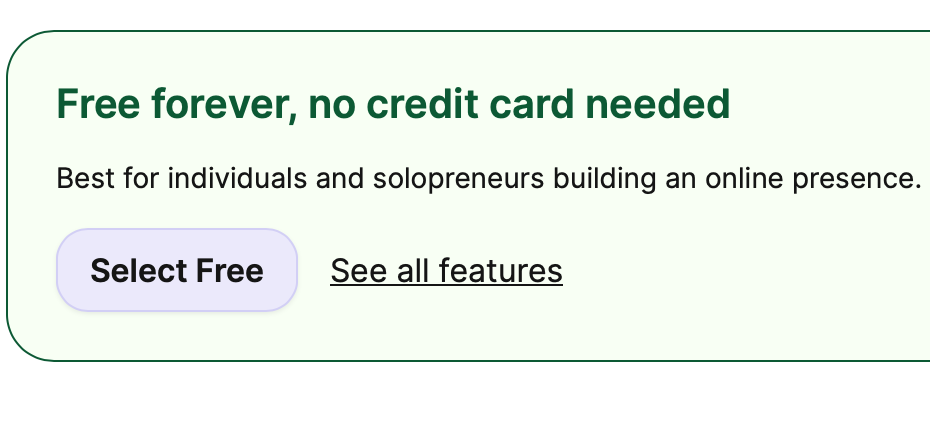
After confirming your email, Brevo shows its pricing plans. Scroll down past the paid options to find and select the free plan.
Step 3 — Add and authenticate your domain
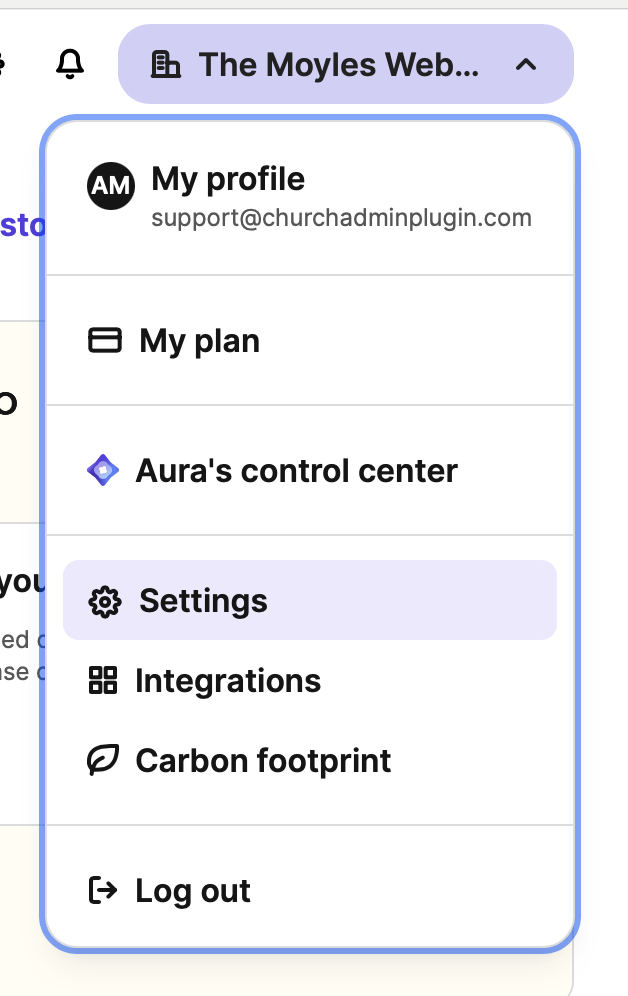
In the top right corner of the Brevo dashboard, click your account name and select Settings.
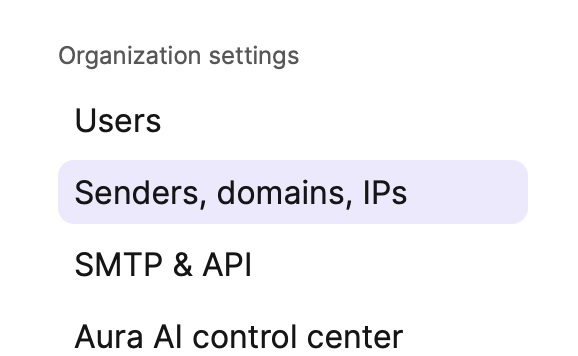
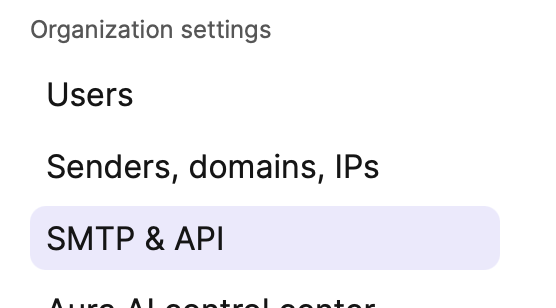
Click Senders, Domains, IPs in the left-hand menu.
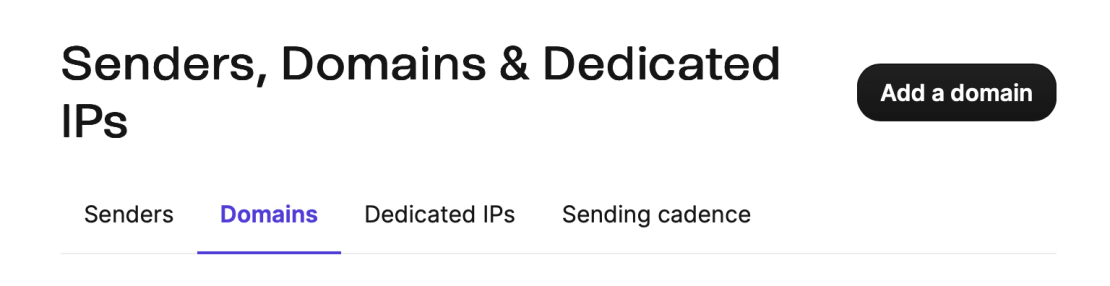
Click Add a domain.
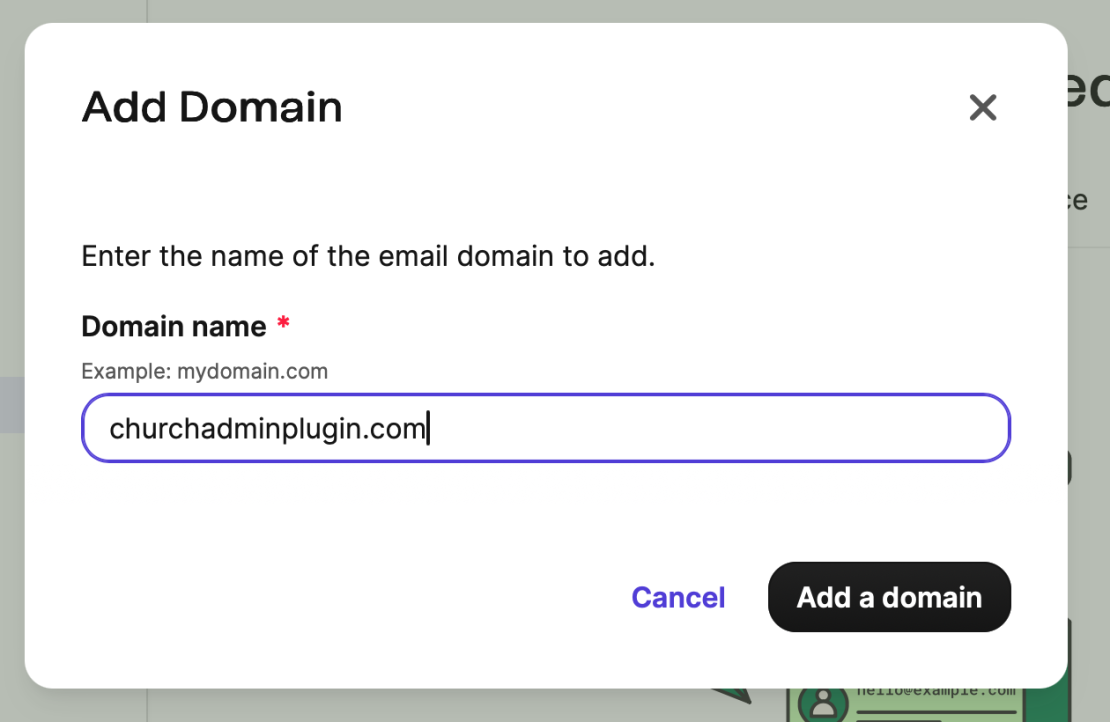
Enter your domain name without www or https:// — for example stpauls.org.uk.
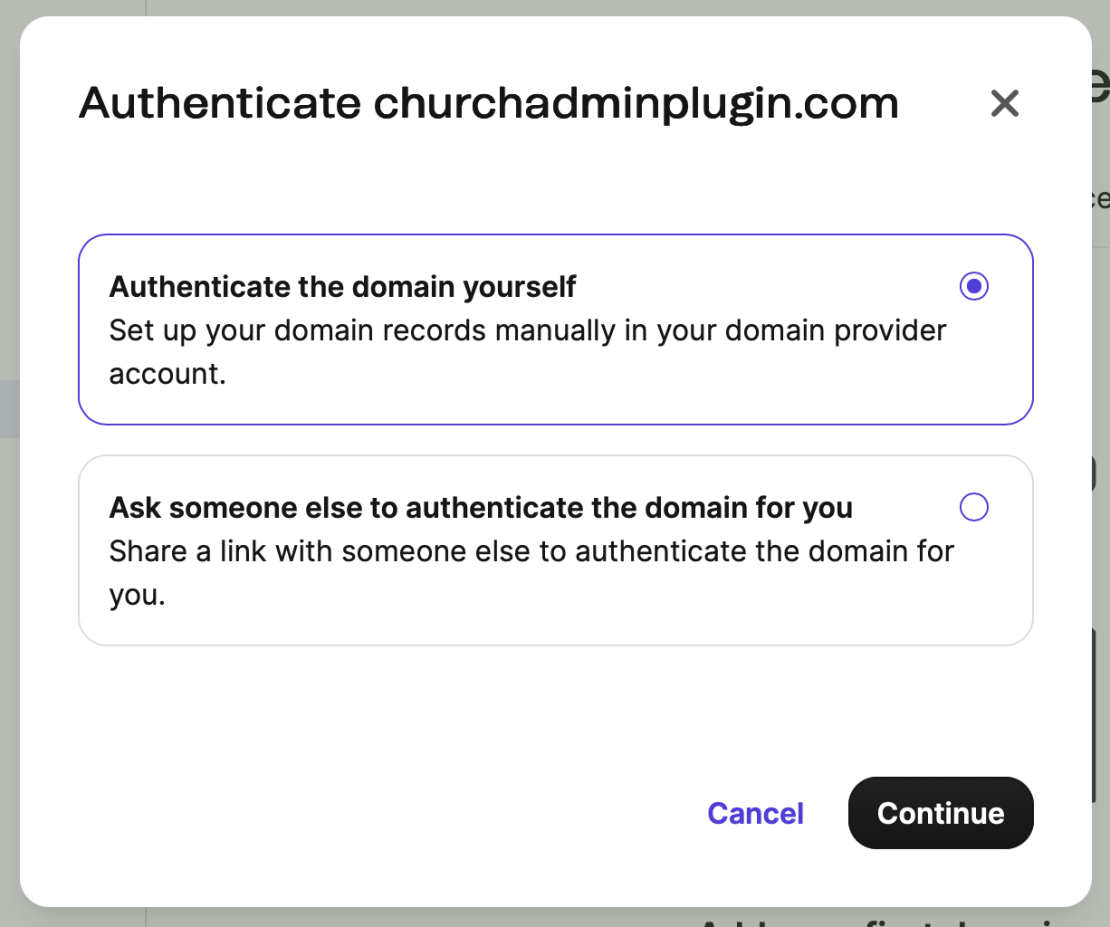
Brevo will show you DNS records to add to your domain — these are the DKIM and SPF records that tell email providers like Gmail that your emails are legitimate. There are two options:
- Do it yourself — copy the records and add them in your hosting control panel (cPanel, Cloudflare, etc.)
- Get someone else to do it — Brevo provides a link you can send to your web host or IT support, asking them to add the records for you
Once the records have been added, wait up to 48 hours for them to propagate before testing with Gmail addresses. You can continue with the remaining setup steps in the meantime.
Step 4 — Get your API key
Click SMTP & API in the left-hand menu.
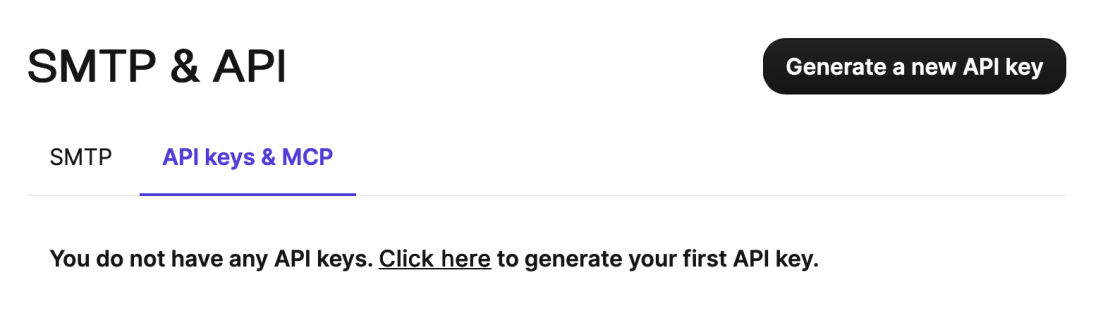
Click API keys.

Click Generate a new API key.
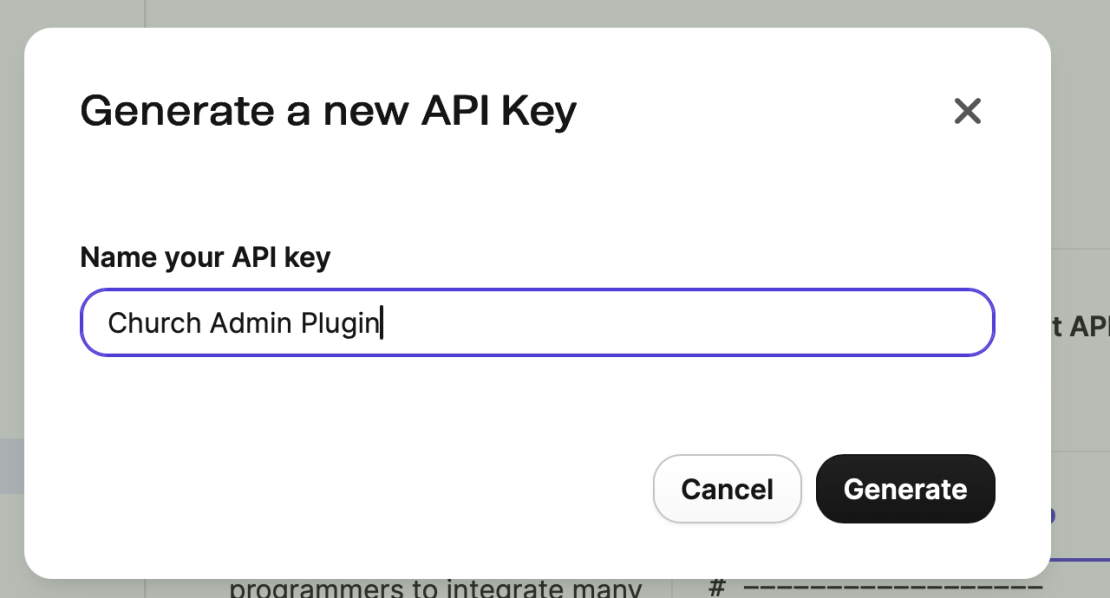
Give the key a name — for example Church Admin — click Generate, then copy the key and click OK. Keep the key somewhere safe — you’ll need it in the next step.
Step 5 — Add the API key to Church Admin
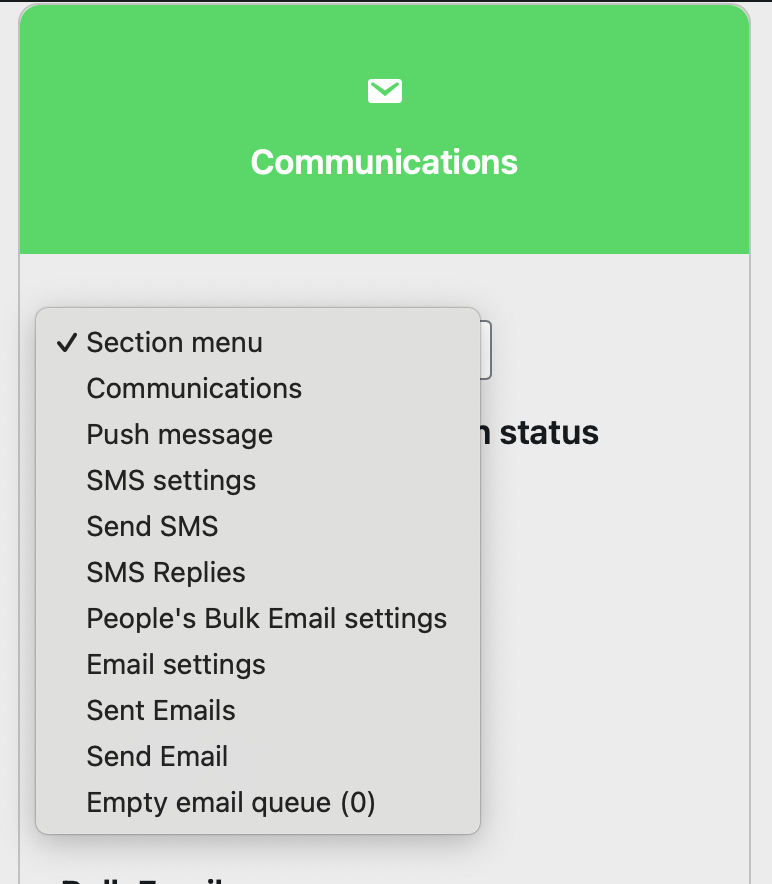
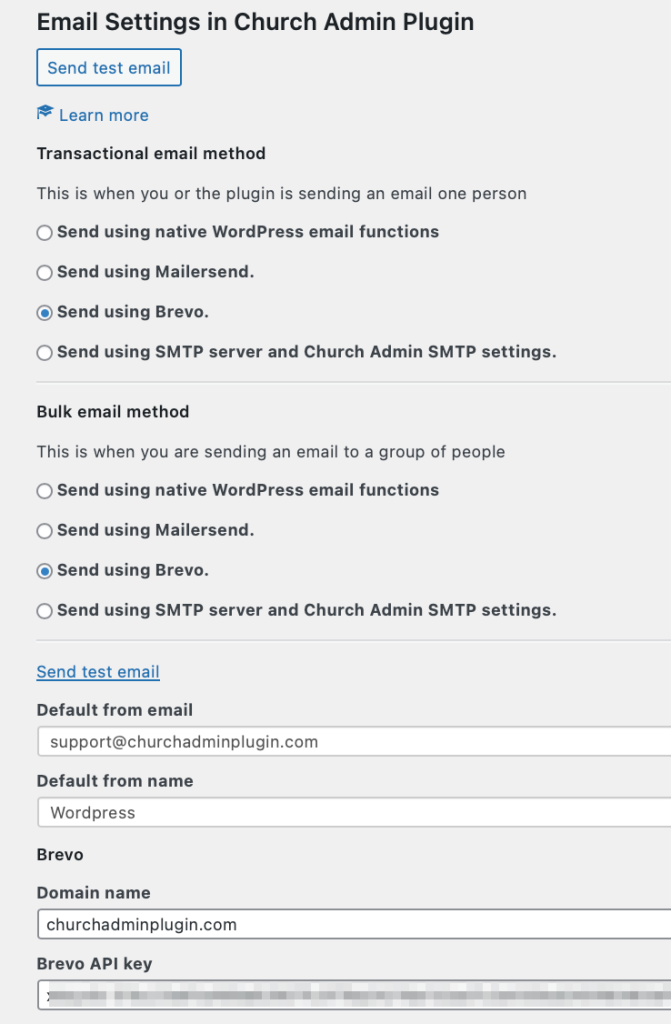
Go to Church Admin → Communications → Email settings.
Select Brevo from both the transactional email and bulk email dropdowns. Fill in the default from name and from email, then enter your domain name and paste in the Brevo API key. Click Save.
Step 6 — Send a test email
Click Send test email on the email settings screen. Use a non-Gmail address for the first 48 hours while DNS records propagate — Gmail will reject emails from a domain it hasn’t yet verified. After 48 hours, test with a Gmail address to confirm everything is working correctly.