Installing plugins is pretty simple with WordPress, and it’s one of the reasons WordPress is such a powerful content management system. This tutorial walks through installing the free Church Admin plugin, and how to upgrade to Premium once you’re ready.
Step 1 — Open the Plugins screen
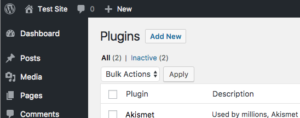
Log into your site and click the Plugins link on the left-hand side of yoursite.com/wp-admin.

Step 2 — Search for Church Admin
Click Add New, then type Church Admin into the search bar on the right. The plugin should come up first.
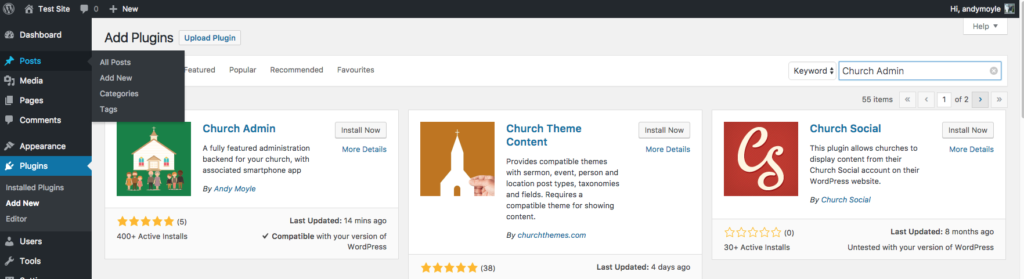
Click Install Now.
Step 3 — Activate the plugin
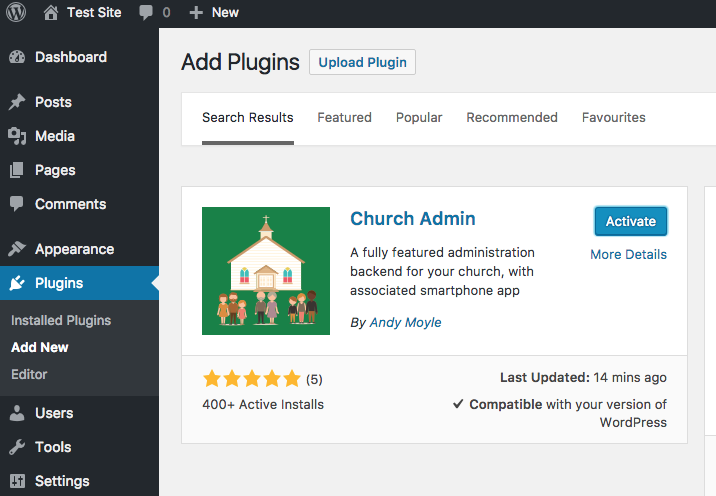
Once installed, click Activate.
Step 4 — Find Church Admin in your dashboard
The plugins list now includes Church Admin.

Notice at the top of the screen, in the Admin Bar, there is now a Church Admin link, as well as a link in the left-hand menu. Click either link to start using the plugin.
Step 5 — Upgrade to Premium
⭐ Premium
The premium version of Church Admin adds classes, small groups, event booking, services, sites, scheduling, communication tools, pastoral visitation organising, ministries, serving sign-up, and a free app for your church members — all for a low annual subscription.
To upgrade, click Church Admin in the left-hand menu, then click Premium Upgrade Install in the Premium module box on the dashboard.
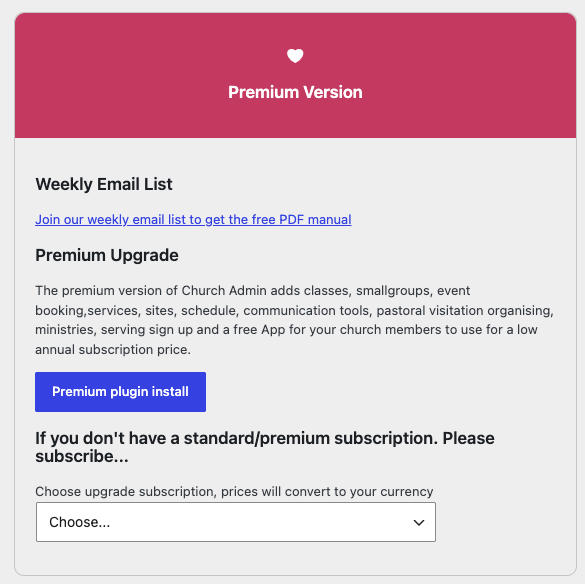
If you don’t yet have a standard or premium subscription, visit the Premium Version page to choose an option and subscribe.